As February progresses, signs of the approaching spring become apparent, with bulbs emerging and wildlife stirring as light levels and temperatures rise. While nature awakens, there’s ample opportunity this month to ready your garden for the upcoming season. February offers a chance to lay the groundwork for a flourishing garden in the months to come.
Here are our tips for making the most of the month ahead:
– Apply blood fish and bone mixed organic fertiliser to your plants to give them a good start and for a spectacular floral display later in the year.
– Use cloches (a translucent cover) to warm up your soil for early seed sowing outdoors. In general, transparent or clear plastic is most effective for solarisation, as the heating rays from the sun will pass through the sheet and be trapped to heat the soil below.
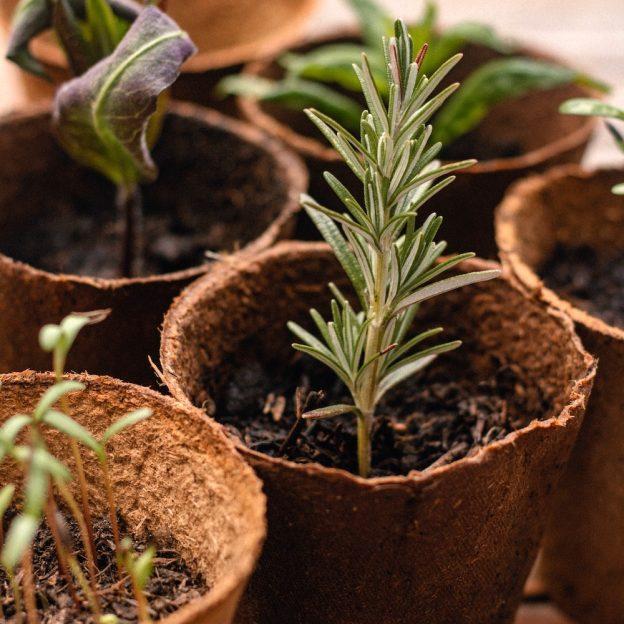
– Start chitting your seed potatoes. Chitting potatoes means encouraging the tuber to produce strong, short, stubby green shoots before planting. It’s the practise of making potatoes start to sprout before planting in the soil. Chitting is supposed to help a crop mature quickly after planting. We suggest putting your seed potatoes in an open egg carton in a cool well lit room to do this.
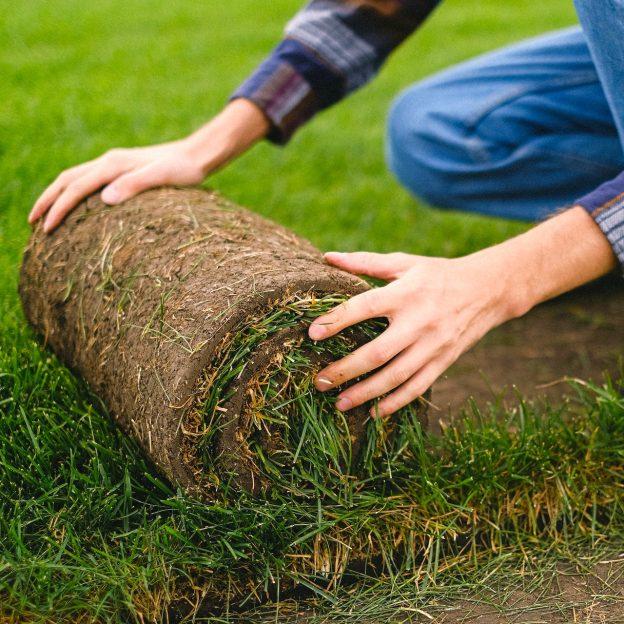
– If your lawn gets waterlogged we suggest spiking the ground to improve drainage. You can use a special hollow tined aeration tool or just the spikes from a garden fork.
– Start your seed sowing. Many seeds can be sown undercover this month including sweet peas, lettuce and broad beans. Don’t forget your seed trays and compost.
– Apply nitrogen fertiliser to your spring cabbage and broccoli at the end of the month to ensure they green up.
– Plant rhubarb crowns and asparagus. .
– Add some colour back into the garden with the joyful primulas. Hardy primulas and polyanthus look great in pots or at the front of borders. If you regularly deadhead the flowers as they go over you will be rewarded with new buds and prolonged flowering.
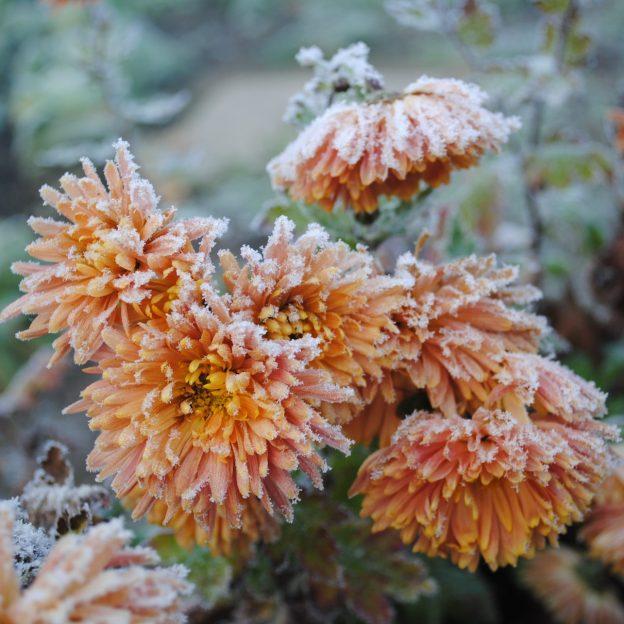
– If your camellias are in full bloom, it is advisable to keep an eye on the weather forecast and throw some horticultural fleece over your plants before frosty nights. This will prevent the blooms from being blackened. You can hold the fleece in place with clothes pegs and remove it in the morning when temperatures rise. When camellia flowers have finished flowering and going brown they can be removed from the plant.
– Tidy up your strawberry plants by snipping away the old foliage down to the crown of the plant. This will promote healthy leaf growth by exposing the central part of the plant to light and air. You can force the plants to flower early (and therefore fruit early) by growing them undercover.
– Prune your autumn fruiting raspberry canes, close to ground level. To get a small early crop, leave a few strong shoots unpruned.
– Plant new or saved dahlia tubers. Keep them in pots undercover for the spring and then plant out in May. Other summer flowering bulbs, corms and tubers can also be planted now like Begonias, Gladioli and Lilies.
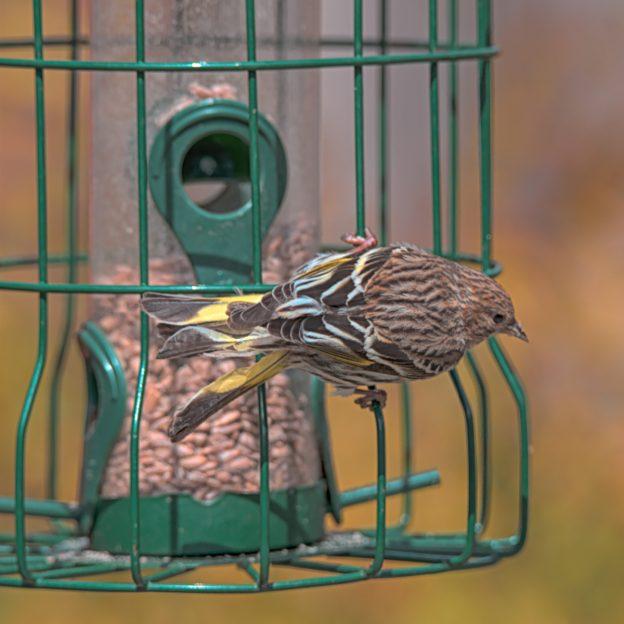
– National Nest Box week always coincides with Valentines Day as many garden birds are beginning to pair up and look for a home to raise their family. You should always site your nest box away from prey (i.e. at least 1.5m above ground level) and with the entrance facing north/north-east, away from the prevailing wind and rain
– Continue feeding your garden birds this month as they will be working hard to build nests and need all the extra energy they can get.